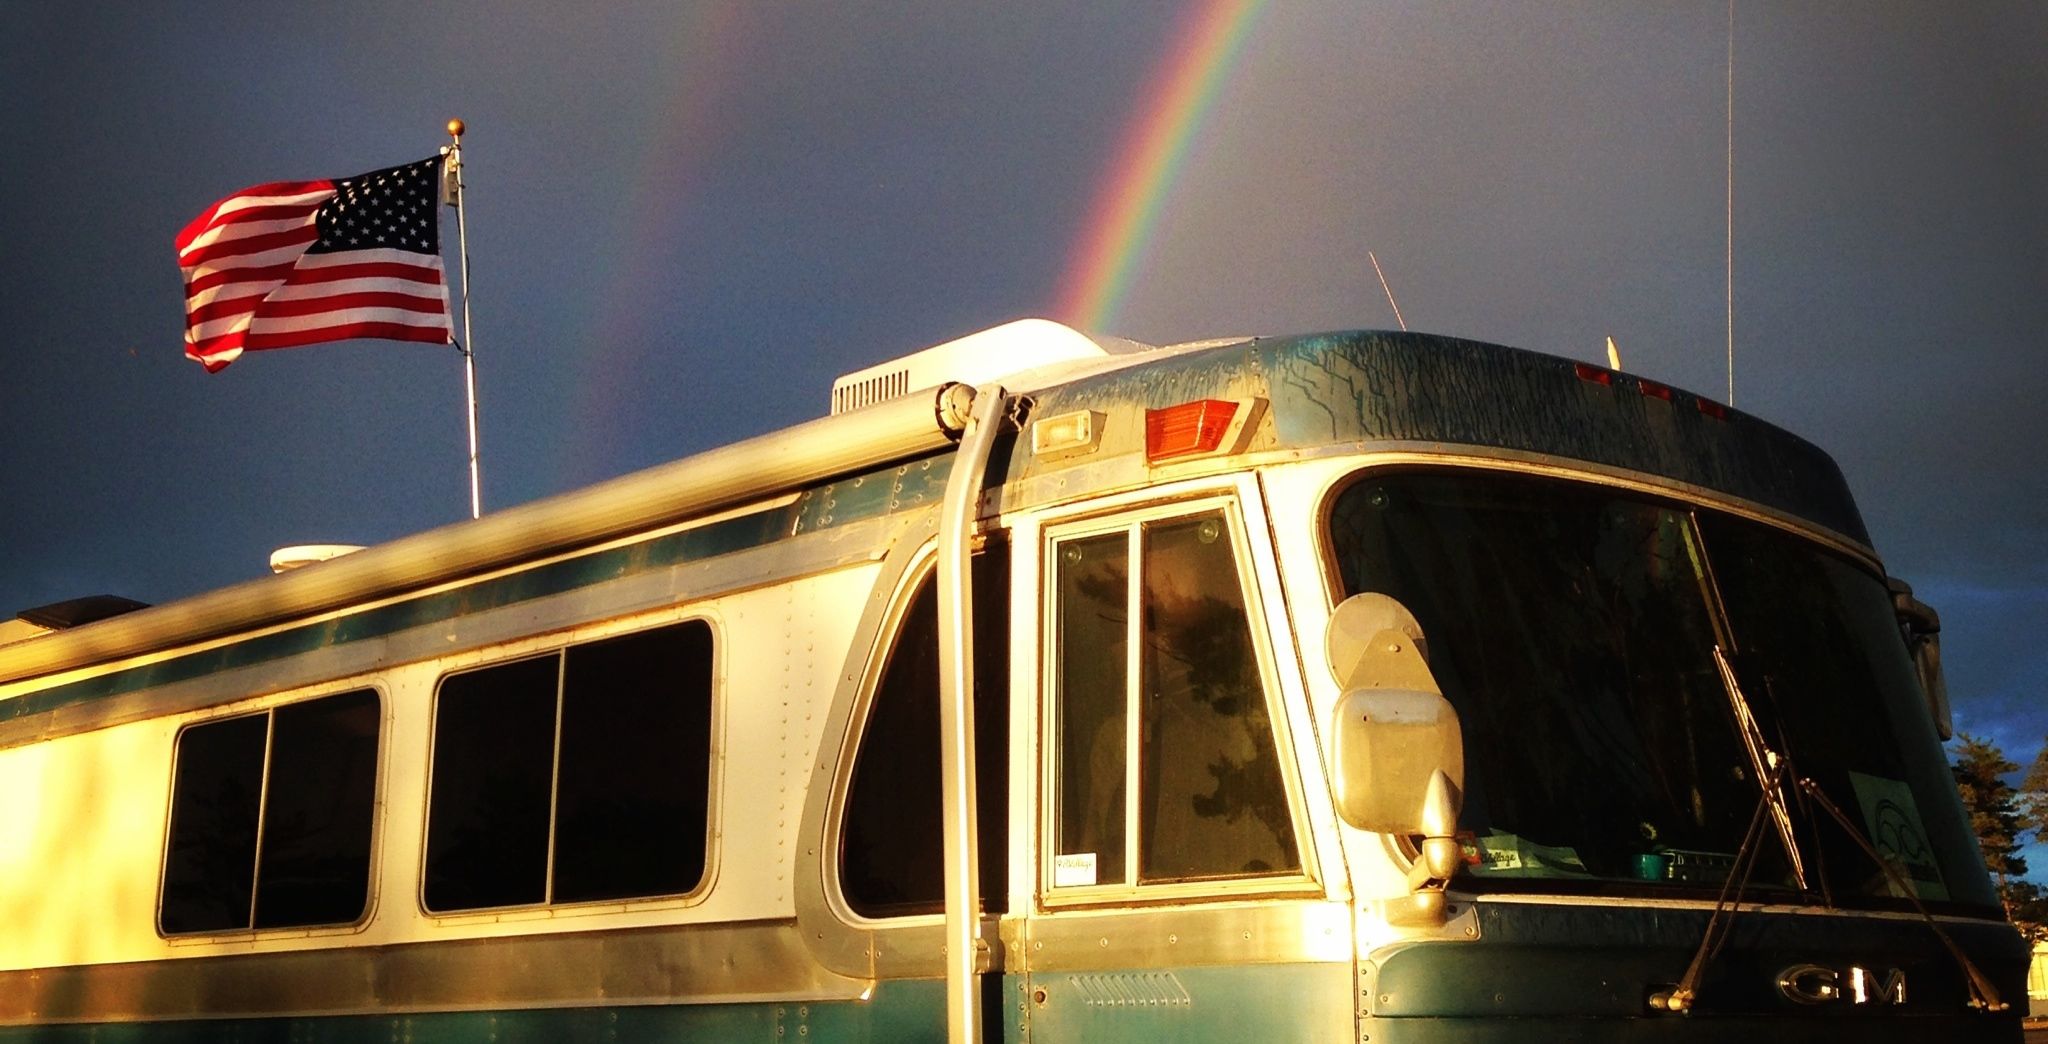
When it comes to getting online, very often nothing beats a little altitude.

We’ve long loved the WiFiRanger Sky on the roof of our bus – it has worked wonders in many campgrounds allowing us to surf away happily via WiFi at distances substantially further than we could ever reach without it.
But if a big Prevost or boxy toy-hauler pulls into a site between us and the campground hotspot, we’ve more than once had our great signal completely obstructed and obliterated to nothing.
If only we could hoist an antenna another 6 or so feet into the air, getting the WiFi receiver up and over all the other rigs and obstructions nearby…
While researching the new edition of The Mobile Internet Handbook, I set out to find an easy and elegant way to be able to accomplish this.
The solution I’ve grown very impressed with.
The FlagPole Buddy
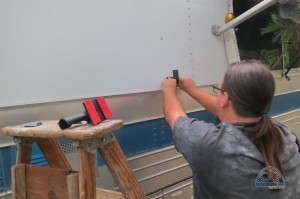
I reached out to Christine & Dave at FlagPole Buddy, and they sent us a 12′ Pole & Mount Kit to experiment with.
The FlagPole Buddy mount design is simple and elegant – just attach the mounts to any flat surface or clamp to an RV’s rear ladder, and then when you want to hoist a flag (or antenna, or both!) you can very easily angle in the pole from ground level into the top bracket, and then raise the pole to vertical and drop it securely into the base.
Lowering the flagpole is just as easy – it literally only takes seconds. No tools are required – making it easy to quickly get the flagpole down if there is an approaching storm, or to store in a bay for transport.
FlagPole Buddy offers three flagpole sizes – a 12′ aluminum pole with a 1″ diameter base that collapses down to 6′ tall, a 16′ fiberglass pole with a 1.5″ diameter base that collapses down to 4′ tall, and a 22′ fiberglass pole with a 2″ diameter base that also collapses down to 4′.
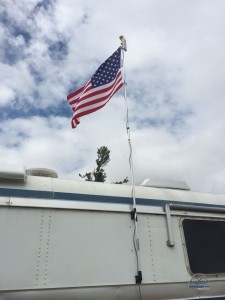
Dave recommended we try the 12′ aluminum pole for our antenna experiments since it was more rigid, and indeed it has been working great.
The downside of the 12′ we have discovered is that it does not have a locking pin to hold the pole fully extended, so it can gradually slide back down a bit if you don’t twist it extra tight to secure it. And the 1″ base mount does not have an insert for a locking screw to keep the pole from rotating – not needed for a flag, but important if you want to aim a directional antenna and rely on more than friction to keep it that way.
The two larger poles have both of these features however.
All of the poles can be deployed to less than fully extended height – so we are considering eventually adding the 22′ pole to our arsenal as well. On calm days the extra altitude might be nice for the WiFi gear, and on breezy days it will be a great place for flags during the day and solar beacons at night.
The FlagPole Buddy kit comes with a traditional ball for the top of the pole, but they also offer a mounting bracket for attaching a flat metal plate to the top. We used this to create a mount point and ground plane for our magnetic-base cellular antennas.
A future upgrade for up top – FlagPole Buddy offers a whole range of awesome solar powered dusk-till-dawn flashing beacons and flag lights that look really cool.
The FlagPole Buddy gets us the altitude we need, but what should we put up there to bring in the signal?
Ubiquiti NanoStation 2 / WFRBoost
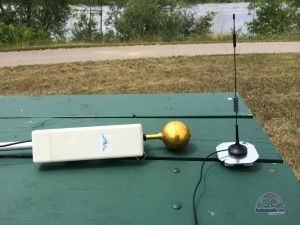
One little known yet totally awesome feature of the WiFiRanger routers is that they support a feature called “WFRBoost” that lets them remotely control and manage many Ubiquiti CPE devices.
CPE stands for “Customer Premises Equipment”, and is the term used for commercial grade WiFi access points used by wireless service providers. Very often – the equipment providing WiFi in a campground is actually Ubiquiti CPE gear.
The one we’ve been testing is an old spare NanoStation 2 that WiFiRanger sent us to try out.
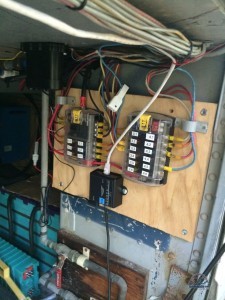
The Ubiquiti NanoStation M2 (the newer model of the NanoStation 2 – with 802.11n support and not just 802.11b/g) is a small affordable (less than $100) CPE with a built in directional antenna, designed for pole mounting.
In this case – flagpole mounting.
When plugged into a WiFiRanger, the NanoStation shows up as just another signal source in the main WiFiRanger control panel. Only – now you can see networks vastly further away than the Sky ever could.
The downside is the setup time — the NanoStation’s directional antenna does wonders pulling in a distant signal, but you need to raise the mast and spend time slowly rotating and checking signal strength until you find an optimal setup.
Where we are camped this week, I managed to connect to an open WiFi network over a quarter mile away by carefully aiming the NanoStation!
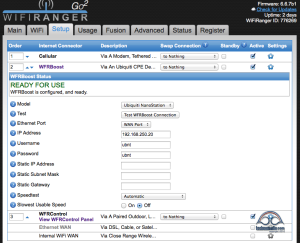
I don’t consider the NanoStation a replacement for our Sky, but rather the perfect compliment to it.
The Sky is better / faster for “medium range” passive situations, as it doesn’t require setting up a mast or aiming an antenna to use. So it is perfect for hopping online while passing through retail parking lots or shorter stays at campgrounds.
But when we are stopped someplace and need to pull in WiFi from as far away as possible, I am blown away by what the NanoStation so far seems capable of.
Cellular Up Top Too?
Cell towers are likely to be both much further away and higher than nearby WiFi hotspots, meaning that an extra few feet of altitude is less likely to make such a dramatic difference.
But to keep our options open for when struggling in fringe signal areas, I also set up a metal plate that can be mounted on the top of the flagpole as well, giving an extra-high mounting option for the magnetic-based antennas that we use with our cellular boosters.
To actually take advantage of this will require some antenna extension cable, and it will take some experimentation to determine whether the loss from the longer cable is made up for by the gain from the extra altitude.
So far since setting up the FlagPole Buddy we haven’t been any place “fringe enough” for it to make a difference with cellular, but I am looking forward to further experimentation.
Gave proof through the night that the signal was still there…
Overall, the combination of the FlagPole Buddy and the NanoStation 2 CPE have made a wonderful upgrade to our bus, and we look forward to getting some custom flags and solar beacons to bling out our pole even further.
And though we have only had a chance to use it at two locations so far, I am literally blown away at the extreme range that the NanoStation seems capable of.
I can’t wait to keep testing it out in a range of additional locations.
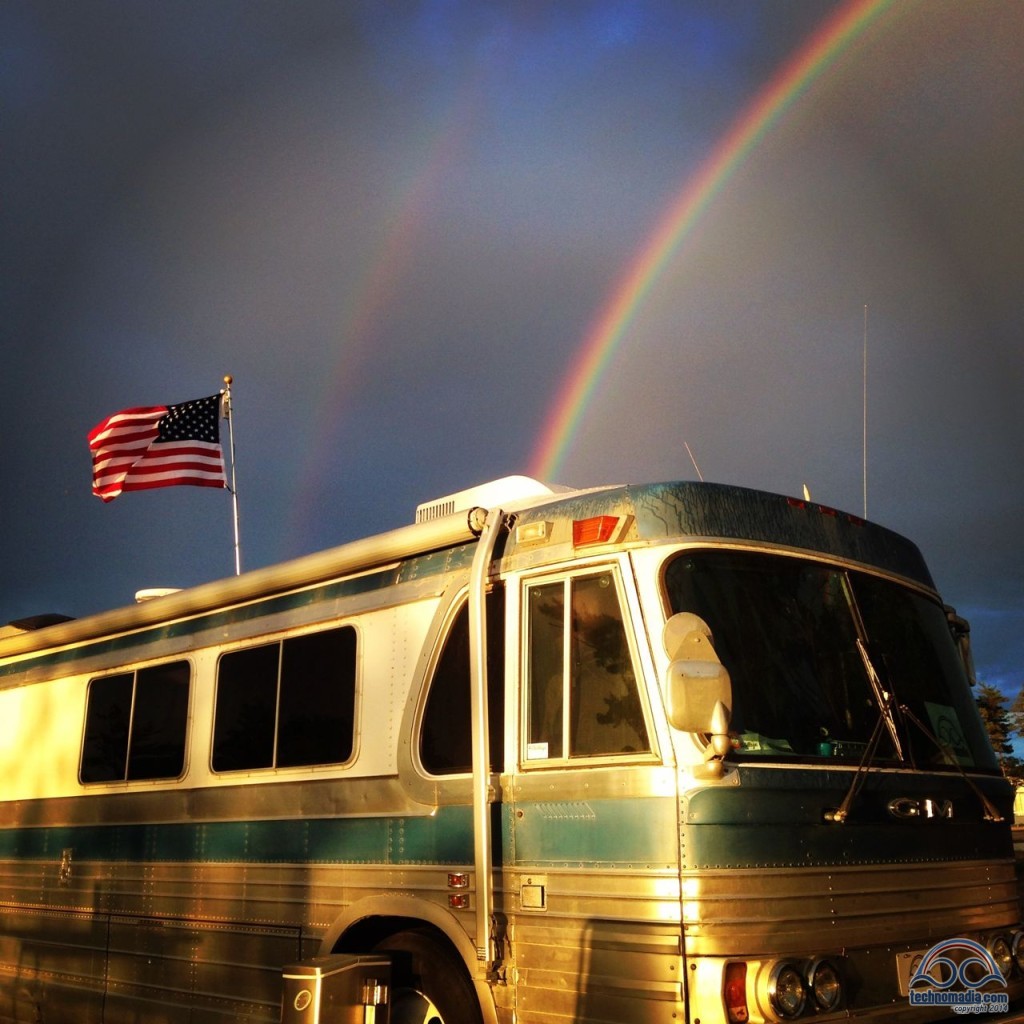
Happy Independence Day – may freedom shine brightly upon you!
Summer 2015 Update: After our massive bus renovations (including a new paint job), we opted not to re-install the the Flagpole Buddy mounting system. Not for any functional reason, completely for looks. We still love the ease and functionality of the Flagpole Buddy system, and had actually upgraded to the 2.0 system to allow us to lock in the positioning of the pole. We now use a flagpole holder that goes into our rear hitch. We’ve also optimized for omni-directional antennas on our roof that stay permanently attached and rarely find we need directional antennas.

Hi Chris, My wife and I have been full-timers for a whopping 2 months! We have stayed at about a dozen RV parks in that time and wifi has been Ok at some parks and almost nil at certain times of the day at other parks. I am working part-time via a VPN connection so I need decent wifi or else I struggle with the connection being lost and I have to re-log in time and time again just to keep working. Do you have any VPN experience with these devices?
Thanks, Bob
Many of our members successfully utilize VPN on the road. But you’ll probably find campground WiFi isn’t ideal as a primary connection source for those of us who need to be online.
Here’s our guide to mobile internet options: http://www.rvmobileinternet.com/overview
Hi Chris & Cherie,
Based on this article I added (trying to add) a Nanostation Loco M2 to my Go2 and EliteFM set up! I set the Loco M2 up as a ‘Router’ in Network Mode with DCHP on WAN & Lan and as a ‘Station’ in wireless mode. It’s AMAZING!! When plugged into my Apple Time Capsule I’m getting double the speed of my EliteFM which is on the roof and the Loco M2 in in the front right cabinet inside the coach!! My question is when I plug it into the Go2 and set the IP, username and password it says it’s ready to use… when I run a scan it comes back with nothing. Do you offer info somewhere showing your settings on your Nanostaion, I’ve been searching WiFi Ranger’s site, Ubiquiti’s site and Google. I can’t find anything!! Thanks in advance for any help/advice/direction!!!!
We actually only used this set-up once or twice in the past year (we just don’t do WiFi all that often with all our abundant cellular options). WiFiRanger has changed their firmware severals times since then, so we don’t have any current info to share. You could try opening a support ticket with WFR and see if they can help – but they don’t officially support this setup.
I like the idea of the convenience of the flagpole buddy to raise and lower an antenna. You mention mounting 2 antennas from it (WiFi and Cellular). Don’t you need a certain amount of separation between the antennas so they don’t interfere with each other? The 2 antennas I am looking at are the WFR Elite XT and the BoatAnt.
I was thinking of mounting a bracket to the top of the flagpole so that I could separate the antennas by 6-8 inches but still mount them off the top.
Separation is always a good thing.. but WiFi and Cellular bands are distinct enough that the separation doesn’t need to be extreme.
Very cool. I believe that flagpole buddy also makes a camera mount pole that may be a good option for mounting as well.
You mention using the same set-up for cellular and I’m curious to hear about your results. I have an airstream so I have to get my mifi outside the metal cage. I got a wilson antenna (maybe 18″ tall) and mounted that on the roof and brought the wire inside to hook up to the mifi. Works great in general, but what I find most often now are the mysterious out-of-range symptoms: mifi sees signal, tries to connect, fails, disconnects, repeats… I suppose in wooded areas a tall mast can perhaps help but for me the distance to the tower is more often a limitation than anything else. Ok, we tend to camp in desert areas…
(BTW the distance limitation is amazingly precise, in the mojave preserve I was in a situation where I walk back and forth 10 feet and reliably go between perfect connection and no-dice.)
Yup.. each tower has a maximum distance that then engineers pre-proram in that it will keep ‘listening’ to before it times out. Sometimes it’s not just about the signal, and there’s nothing you can do but move closer to get around that issue.
It’s coincidental that you wrote this article. We are currently in Canada. Since we don’t have a Canadian data plan, we are quite dependent on RV Park wifi. During our first night in Ft. MacLeod, Alberta, the park’s internet connection consisted of a home style router sitting on the counter in the office. Our site was at the opposite end of the park. We got an ‘OK’ connection until a neighbor moved in between us and the office. That was the end of wifi reception. I use a Pepwave SOHO which I find to be more reliable and stable than the Wifi Ranger Go2 that I also have. I also have a Wifi Ranger Home, a WFR Boost and a Cradlepoint MBR95. Of all of them, I like the SOHO for reliability, but not necessarily the most sensitive reception. Also, for the past two motor homes, I have had a Flagpole buddy on the rear ladder for flying flags.
I swear I hadn’t read your article yet. I know that line of sight is the best way to receive a radio signal like wifi. I started with the WFR Boost on the end of the flagpole. The Go2 can handle power over ethernet directly from one of the ports. When I got the Boost, I was still using the Wifi Ranger Home (at the time it was known as the Pro). Since it couldn’t handle power over ethernet, it came with a handy little power inserter. Using that, I tried the Boost with the SOHO. The problem I ran into is that the version of the Boost that I have only supports 802.11B and G, not the newer ‘N’, which is what this park was using. What to do, what to do.
I was staring at the Go2. I always wondered what the POE label on port 1 meant. Then it dawned on me. Not only can the Go2 power a device that uses power over ethernet, the Go2 can also be powered over an ethernet cable plugged into port one on it. I connected the power inserter to an ethernet cable connected to port 1 on the Go and the lights lit up! I am still struggling to get ethernet back over the same wire, but that’s another story.
So… I connected the Go2 to a long ethernet cable. I stuck it in a couple of zip lock bags and fashioned a mounting harness out of cable ties. I attached it to the top of the flagpole and mounted the pole to the ladder. Since the Go2 can use wifi as a WAN source and it’s also a wifi access point, I connected a laptop to it wirelessly and started looking for the park wifi. I found it at a much stronger signal level than I was seeing with the SOHO. I remember reading that the hardware for the Go2 has a pretty good antenna built into it.
So I didn’t have to redo my wireless network in the motor home which has a PC, 2 laptops, a printer, a Bluray player and a DVR, I made the Go2 an interconnect device and relayed the LAN side of it to the WAN side of the SOHO.
I have used it 3 times in the past couple of weeks and it’s a real life saver when it comes to iffy signals. In fact, I am using it now to post this. The only drawback is that it’s not weatherproof. I am concerned that the case may not like sun and heat (or cold). When I get back to the states, I am going to look for a weatherproof case that I can stick it in.
I also read somewhere that the way Ubiquti handles POE is a bit strange which may be why I can’t use the ethernet cable for network communication, too. I am going to try a generic power inserter to see if that works.
Another alternative is to pick up a new Ubiquiti Bullet that handles 802.11N. I can use the WFR Boost bracket and antenna. I may also look for a way to permanently mount the router outside and only extend it when I need it. Jack Mayer has a couple of ideas on his web site that may fit the bill. My source for internet when I am in the States is a Millenicom 4G hotspot. Since the Go2 is a full router, I could tether the hotspot to it, stick it in the same enclosure and ‘run it up the flagpole’, too. I wouldn’t need an external antenna and would get plenty of range.
Awesome ingenuity Michael!
Often the key to getting online really is just persistence and experimentation.
I am a bit surprised that the campground was set to 802.11n only – most 802.11n networks support 802.11g and even 802.11b backwards compatibility.
Thanks for sharing what worked for you.
Cheers,
– Chris
Chris – nice article. I’ve spent a lot of time trying to figure out the right mast/mount for my Engenius antenna + Ubiquity bullet (radio). One thing that I think would be great is if you could try to separate out how much of the performance comes from the antenna part of a given system and how much from the radio. My impression is that they both matter a lot but in different ways.
The flag buddy looks great in many ways, but is expensive. I’ve been sitting on a marine antenna mount with a 12″ extension for mounting the radio+antenna, but I haven’t settled yet on where to actually attach the thing such that we can put the antenna up (vertical) and down (horizontal). Maybe I’ll have to think again about the flag buddy.
Hi Paul –
WiFi really thrives on line-of-sight connections, so the huge advantage of having altitude is that it gets you above all the lower-level cruft, like rigs parked nearby.
The NanoStation would work just as well at ground level if there was nothing between you and the base station other than a large empty field. The directional antenna helps a lot too.
There is probably no universally “best” antenna – they are all tuned to different capabilities. The key is finding a reasonable balance.
Good luck, and share what you end up doing.
– Chris
Thanks Chris – very informative!
What about lightning concerns? I know your bus may not be technically “grounded” but still you are placing a metal object higher in the air with a wire running to all your sensitive electronics. So I would think that lightning would still be a concern- especially when it’s not always as predictable as we would like.
But thanks for the information and look forward to your latest book release.
Good point Richard. We do have a full-bus surge suppressor that protects our incoming shore power line, but if we were ever to get a direct hit straight to the bus just about anything could happen. The question is – how much does having a flagpole increase our odds?
We certainly would never leave the mast up if storms were threatening.
I wonder if there are any surge suppressors that can be built into a POE to secure the ethernet coming down from the CPE? I do know there a surge suppressors that can be added to antenna wire coming from a cell antenna too.
Other tips on this topic are appreciated…
– Chris
To lightning proof your setup, the best thing you can do it give the lightning an easier path to the real ground. A fat gauge wire attached to a steel spike that is driven into the dirt should ground you out pretty well. Run the wire to the top of the flag pole, above the Ubiquiti, and put something more conductive than your radio at the end of the ground cable.
The lower the gauge wire, the more effective it will be.
A wise tip, thanks for sharing.
The NS2 is a very good CPE. I use them routinely when I need great range. In Point to Point (P2P) application I’ve gotten 6 miles out of them – although this is pushing the device. Of course, I controlled both ends of that connection. I also use them in wifi installations as an AP. They are my first choice for a directional device unless I have special needs.
You should find that if you have a strong enough AP that you can get a mile fairly easily. The limitation will be the AP, not your NS.
For close in and ease of setup try a Pico. Very small, easy to mount and very good out to close to a mile….assuming the other end can meet the signal requirements.
Indeed – it takes two to tango. If one side of the wireless connection is sub-par, the other side can only go so far to make up the difference.
I’ve seen plenty of campgrounds whose idea of offering WiFi is to stick a six year old bargain Linksys router from Walmart into the office window. In those cases, it is sometimes hardly worth even trying.
Cheers,
– Chris
Great picture! The Z bus, flag and double rainbow! Best to you both. Dawn
Great stuff! Thank you, Chris. The flagpole buddy sounds like a great idea! The rest, although interesting, is over my head right now, but I’m sure it won’t be once you’ve finished writing and I get a copy of the new book.:-) Thanks again and I wish you and Cherie a great Independence Day!
Hi Neal – yep, this is all part of research for the book. And my goal there is to explain everything from the basics on up, so by the time you are finished digesting it the idea of CPE will not seem foreign at all!
Happy 4th to you!
– Chris
In 1980 my dad had a Journeyman toy hauler trailer. He attached a 20′ pole for his CB antenna and ran a string of Christmas lights to the top, “powered” by the trailer’s battery. It was definitely the “hit” of the boon docking spots and we could always find our way back to camp when out on a night run on the ATVs. He would love all the options of the Flagpole Buddy and I’m sure would have them all :-).
Love the picture!!!