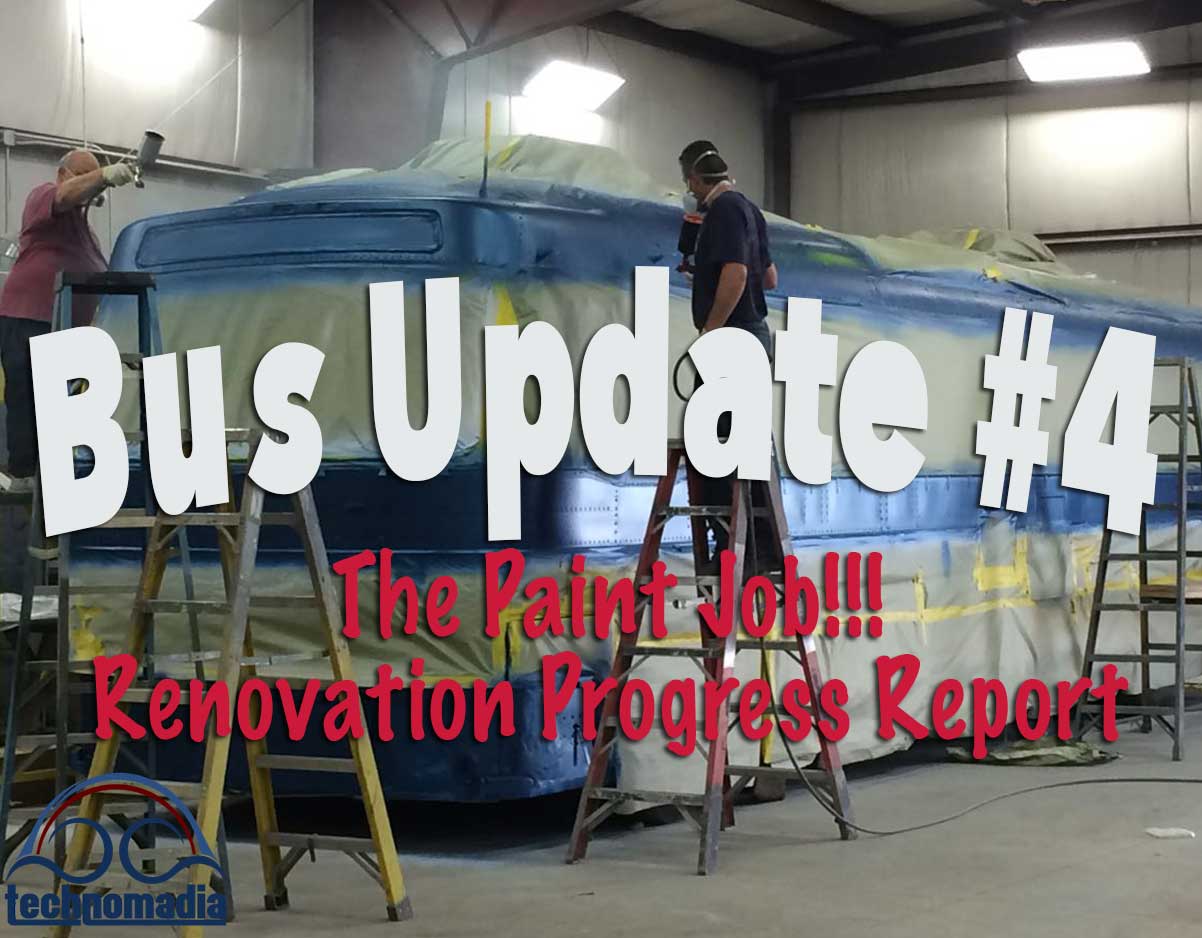
Ahhh… it’s finally happened. The big project that we came to Master Tech RV for, a new paint job for our 1961 vintage bus conversion.
Here’s a quick video overview we took over the past few days following the paint job – which includes some cool action clips of the paint going on:
A Quick Summary of the Painting Process:
Step 1: Prep – Sanding & Priming
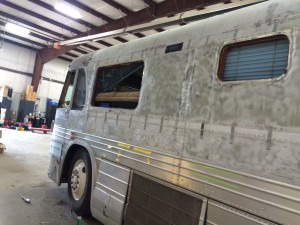
Zephyr had already gone through one round of preparation back in June & July. It started with media blasting the original paint off the body, which of course resulted in the new damage to the aluminum (done by a contractor, not Master Tech staff).
Before the shop decided to halt the paint job to pursue replacing the aluminum panels, the paint team did start the sanding & priming process.
They also painted the roof white, with a single process paint that would be less slippery than the clear coating the rest of the bus would receive.
To resume the painting now that we’ve nixed the aluminum replacement option, the team spent a long two days continuing the preps. They did some extensive sanding to the surface, re-primed where needed and masked off anything that would not be painted white.
They also continued some minor body work on spots they wanted to clean up before applying paint.
Step 2: White!
Most of the work in a paint job is the preps – all the sanding, priming, body work and masking is meticulous work, and essential to a quality paint job.
The actual spraying of the paint part, as we learned, goes incredibly quick!
Our paint team is awesome, they just TXT us when they need any input from us to clarify our wishes (which was a fabulous break for us to get some work done) and we pop into the shop to consult.
But if we didn’t poke our heads in every so often, we might have easily missed the actual painting.
We happened to catch them applying the 3 white coats on Saturday afternoon (they love working when the shop is closed – the choice to work over the weekend was theirs):
They let the white completely dry for a day before resuming, and taking a well earned day off after several long days.
Step 3: Blue!
Monday morning the team was back in bright & early to start the masking process for the blue portion of the paint. This involves again meticulously masking off everything that won’t be painted blue.
And then again, applying multiple coats of the blue paint went super quick and we just happened to catch some of it:
Step 4: Clear
The final paint layers are the clear coating. It provides the high gloss that really makes the colors pop, and provides long term protection to the paint job.
It’s also much more toxic and requires additional protection & ventilation for team applying it. At Master Tech, they only do clear coating at night when the rest of the shop is closed.
We happened to catch a glimpse of it happening as we were out for a late night stroll and snuck a photo in from a distance (this pic is a zoom):
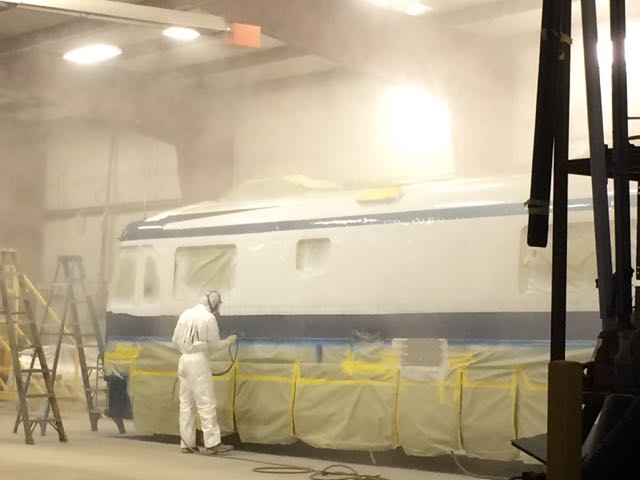
All and all, the team tells us that Zephyr got 4 coats of clear. That should keep us happy for many years to come!
Step 5: The Disrobing
After letting the clear set overnight, the team came in on Tuesday and started the big reveal. It felt like they should have been playing sexy stripper music over the shop’s sound system – because it was downright tantalizing.
Moment by moment, you start to see a bus re-emerge:
A huge thank you to our paint team – Chris & Don. In our minds, they are true artists and masters at their craft. They work together in partnership, and it’s beautiful to watch. Thank you for allowing us to peek in on the job, agreeing to be in the photos and sharing this process.
And we couldn’t be happier with the results!
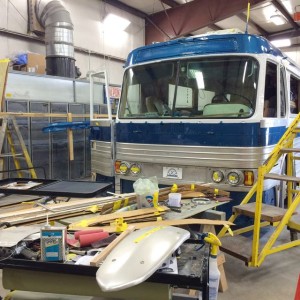
We can’t wait to get this shiny girl out in the sunlight and really see these colors – because the fluorescents of the shop make for photos that don’t do it justice.
But before we can do that, a LOT of re-assembly has to happen. All of the trim pieces have to come back on, windows need to go in, air conditioners need to be installed, solar panels, awnings and a heck of a list of projects buttoned up.
We’re hoping (hey, we can hope, right?) that we might be able to move into the bus for Labor Day weekend to give it a shakedown in the Master Tech campground, and then do any tweaking needed next week. Then maybe, just maybe, hitting the road with an initial shake-down at a local campground?
We do have Plan D, E and F all lined up in case that doesn’t come together. But we’ll play it by ear and what we feel comfortable with as things come together.
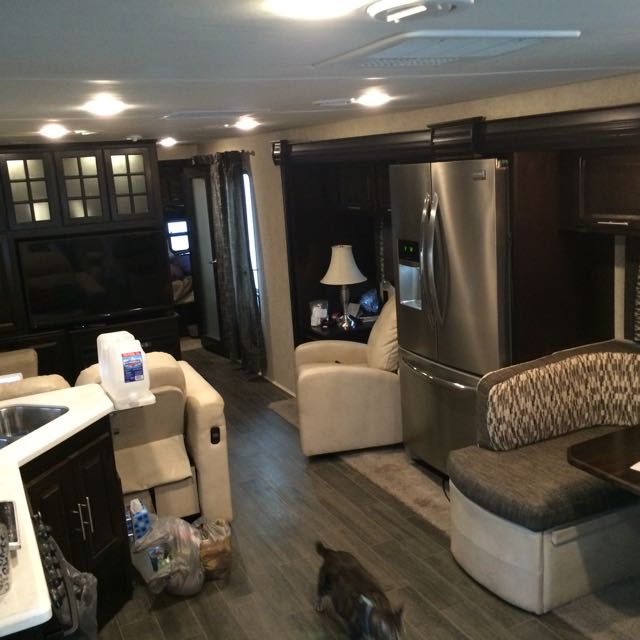
In the meantime, Master Tech has made arrangements with a local dealership to loan us a trade-in RV to continue living in onsite. It’s a pretty spartan (lacking a jacuzzi hot tub and massage chair) 2014 38′ Class-A with 3-slides, but I think we’ll tough it a-ok.
FAQs:
We fielded some questions as we shared photos on Facebook over the past few days, so I’ll try to cover some of them here.
How many gallons of paint did this take?
Don & Chris estimate that this took about 5 gallons for the white coats, and about the same for the blue. They estimated the would use 10 gallons of clear. (We haven’t had a full run down with them yet to get the specifics.. these were just estimates they gave me off the top of their heads when I asked.)
Why’d we stick with the original paint scheme?
So yup, we’re pretty unoriginal here – we have pretty much the same colors and lines, just new and shiny. It might seem silly to go through all this expense and effort to pretty much end up looking just like before.

We actually were quite happy with the original paint scheme of the bus, and really want to preserve as much of the classic 4106 bus look as is practical. Which is why we are NOT polishing the aluminum (it came from the factory with a sweet satin anodized finish).
After looking at hundreds of 4106 paint jobs to get ideas – we decided we really liked what we had. It was just a 25+ year old paint job.
Bus Updates & Info:
Zephyr’s Summer 2015 Renovation Hit List — the original project list, including our decision points for various items (such as why we’re going propane and not diesel on the hydronics & generator).
Bus Renovation Progress Report: A Riveting Tale of Why We’re Way Behind Schedule — Our first report onsite back in Elkhart.
Bus Renovation Progress Report #2: Week of August 17 — Getting the project back on track.
Bus Renovation Progress Report #3: Roller Coaster Week — August 22-27 – Last week’s progress report.
All about our Bus — A little history on our bus from start to now.
I imagine we’ll do a lot of wrap up posts after this is said and done, so for now we’re letting our team carry on with getting us on the road, instead of pestering them with lots of questions to answer. If we learn anything further worth sharing, we’ll follow up later.


I own a 1964 MCI RV and am in Elkhart looking to get work done. I spoke to Brad and Hall and they recommended some places to get body work done but said that you guys probably had some lessons learned. I would love to hear before I commit.
We’ve only had experience with Master Tech RV .. and you’ve found the series where we shared the entire ordeal. Enjoy!
Zephyr looks perfect-congrats!
What kind of primer and paint was used for the Zephyr’s aluminum skin?
We have a all aluminum skinned motor home and are considering repainting it.
Thank you for sharing this wonderful journey~
Thanks. We trusted our paint techs to choose the paint types. I don’t have the information handy to find exactly what they used.
Hey guys we texted sometime ago with you . Back when your motor blew and our rear end blew at the same time lol can laugh now. Well we were wondering why you put middle trim and drip edge or gutters back on.. Was it for looks or hide rivets well I guess that’s looks. Right now we are replacing our exterior walls with new aluminum Top half . We are replacing all our windows so starting with fresh slate. Then paint , we are considering not putting trim and gutters back on …. Just a thought . Ours is a 62 pd 4106 also thanx
We wanted to keep the original look as much as possible.
Beautiful bus, hope to see you on the road this fall.
What I find to be very cool with you all is that you have a classic coach that you continue to upgrade instead of turning over every year or so for a new one. We have a 2003 Travel Supreme coach that is being fitted for solar and new electronics to bring it up to date. Still, more economical than buying new. Your blog on wifi and internet coverage has been very helpful. Looking forward to seeing Zephyr when it’s done.
Glad to see that there is definitely light at the end of the tunnel and you will be on the road soon…It is a beauty…how great the reflections of all the balloons will be bouncing off the sides of the bus! 🙂
It’s very, very fascinating following you adventure. Thanks for sharing!
Question and hope this isn’t over stepping boundaries, but golly, seems like you
must be spending huge bucks…….will it pay off over the years? I do know RV’s are not
intended as the best investments…… Just curious.
It is truly going to be lovely !
It all depends on how you quantify ‘pay off’. Do we expect to get all our investment back in cash at some future point? No, of course not.
But will it pay off in our quality of life? Absolutely. Even with this round of renovations, added with what we already have into the bus since we got it 4 years ago.. it’s still cheaper than having bought a ‘quality’ more modern RV. And it’s absolutely unique to us and designed around our needs and desires. That, is priceless in our book.
The coach looks beautiful! Good luck on getting out of there for the balloon fiesta. We were there for the first HOP years ago and we had a great time.
We love Ballon Fiesta.. we’ll be there one way or another!
What I like best about deadlines is the whooshing sound they make when they go by.
At least we’re hearing sounds of people working on our bus.. makes it easier to deal with 🙂
Wow! She is looking so good! Great attitude during all of this. Best of travels…soooon.
We’re so happy seeing it all come together!
Hi Chris and Cherie, I love reading about all your adventurers and whats happening with the bus rehaul. Love ..love.. your videos…. just notice you both have rings. Did you already get married ???
~~~ Nosey…. yups that’s me !!!.
We’ve had our rings for years.. part of our commitment ceremony to each other long ago. The ‘marriage’ is just a legal thing we’ll do when it makes best sense tax wise… really no big deal or change in our relationship.
So happy to see things are progressing. The paint looks awesome and your decision to keep the classic styling is commendable. One if the nicest things about a vintage bus is that it looks….well….vintage.
Sending happiest possible thoughts your way!
Bus chassis do make great long lasting conversions.. and we get why some prefer them looking more like motorhomes. But we were really drawn also to the classic lines and look.
The more late model buses I look at, the more I appreciate the space-age modern looks of those 50s and 60s GM coaches. That’s some enduring classic style right there.
Indeed.. when we started researching vintage buses, this era of GM really drew us in as a great combo of the classic look and more easily to keep on the road. We loved some other models quite a bit for their looks (such as the Flxible) too.
Looking Good!!!! Sometimes it’s best not to mess with the original when you like it so much!! Sending hopes for a campground this weekend.
Thanks.. we’re still hoping it happens this weekend!
So glad things are starting really come together for you guys.. Can’t wait to see the finished product..
It’s so good to see the pace quicken.
Looking good!
Thanks!